Single Sign-On with G-Suite
RemotePC Team and Enterprise plan users can use Single Sign-On (SSO) for accessing their account. Admin of the accounts can choose a SAML 2.0 identity provider (IdP) to login to your RemotePC account without having to remember another password.
To setup Single Sign-On (SSO) with G-Suite, the admin needs to:
- Create an app on G-Suite console
- Configure your custom app
- Configure RemotePC account for Single Sign-On (SSO)
- Set user access on the app
To use G-Suite as an identity provider for SSO, you need to create an app on the G-Suite console.
To create the app,
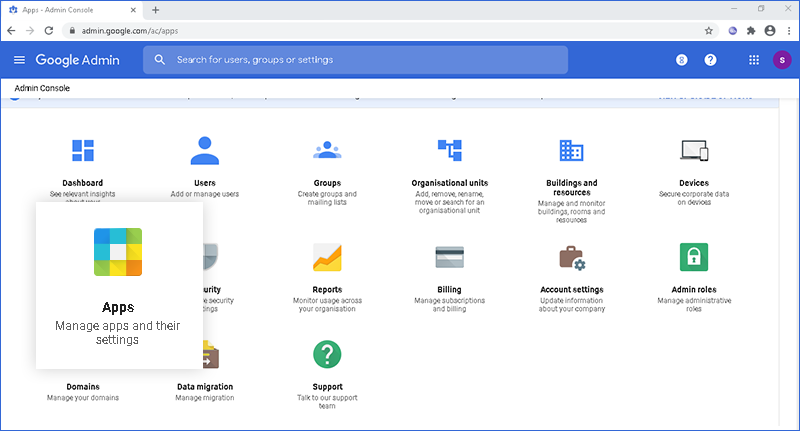
- Login to the Admin Console using your G-Suite account credentials.
- Click 'Apps'.
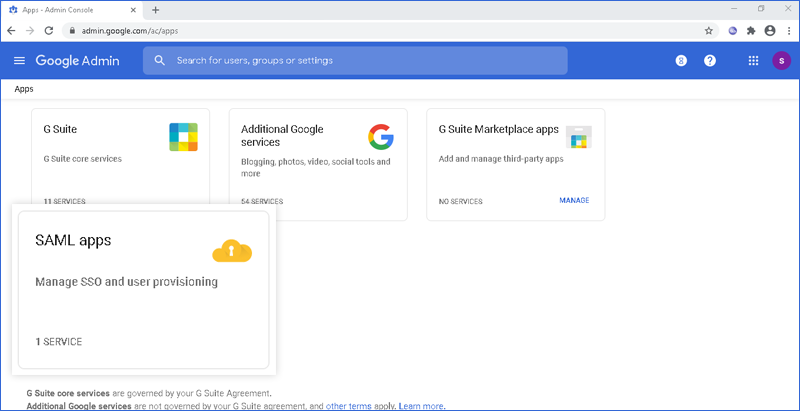
- Click 'SAML apps’.
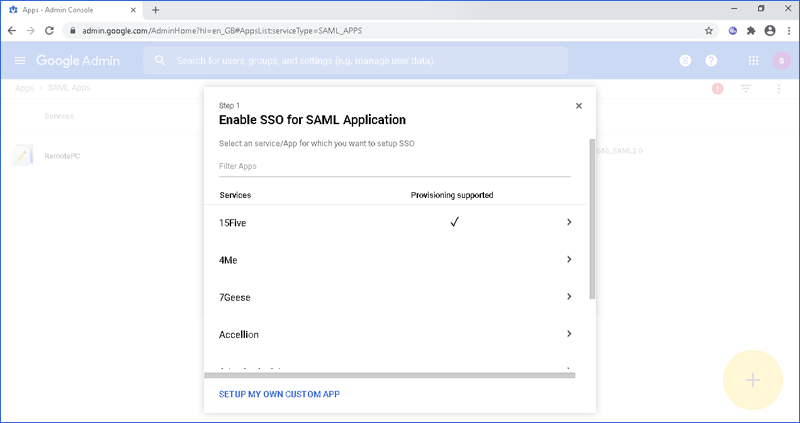
- Click the plus icon on the bottom of the page.
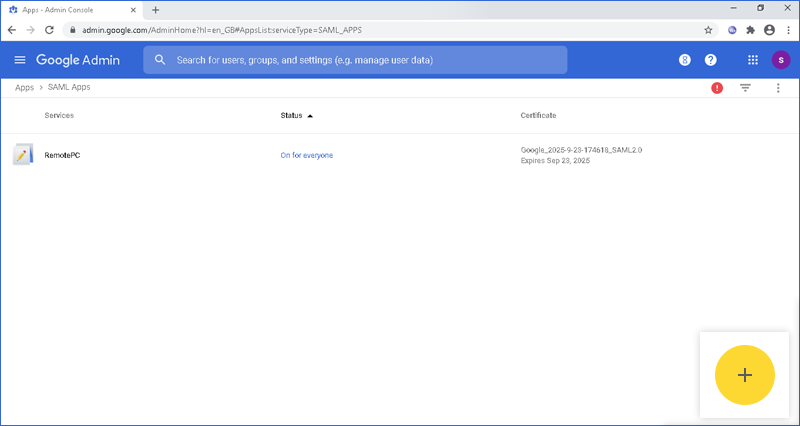
- Click 'SETUP MY OWN CUSTOM APP' button.
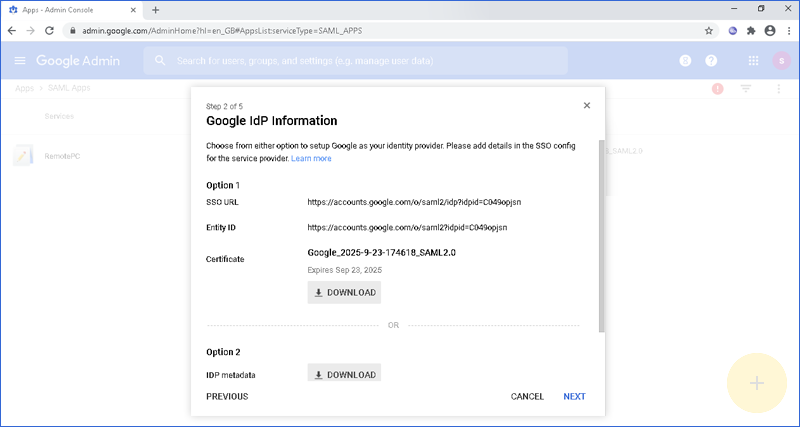
- Copy and save the SAML 2.0 URLs and download the X.509 Certificate in the Single Sign-On application from the RemotePC web interface for SSO configuration.
To configure your custom app provide the basic information regarding the app.
To configure,
- Enter the application name and description.
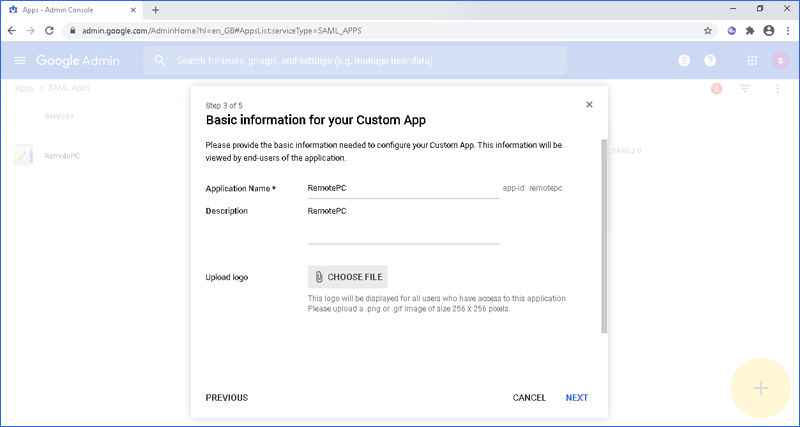
- Click 'Next’.
- In the 'Service Provider Details' form add below URLs:
- ACS URL: https://sso.remotepc.com/rpcnew/sso/process
- Entity ID: https://sso.remotepc.com/rpcnew/sso/metadata
- Start URL: https://sso.remotepc.com/rpcnew/sso/process
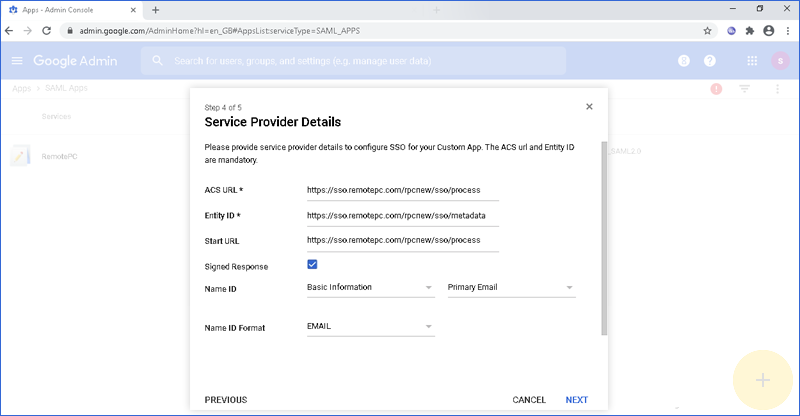
- Select 'Signed Response' checkbox.
- In the 'Name ID' field, select 'Basic Information' and 'Primary Email’.
- Select 'Email' in the 'Name ID Format’.
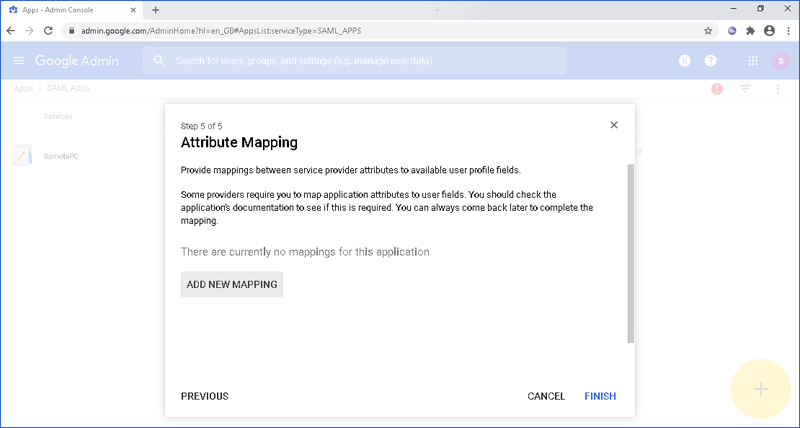
- Click 'Next’.
- Click 'Finish’.
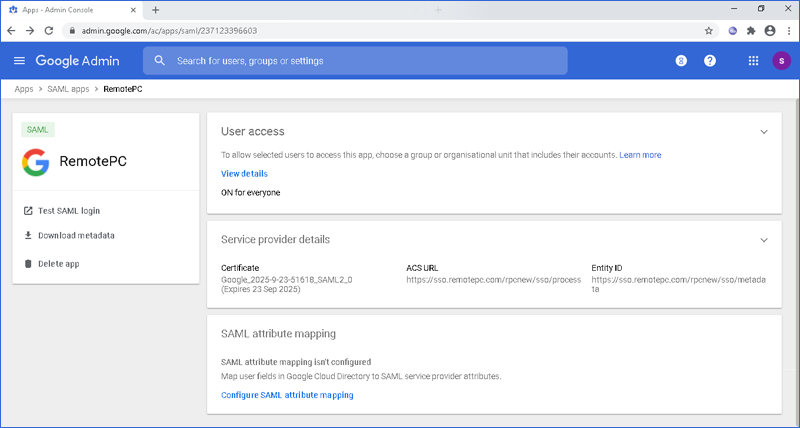
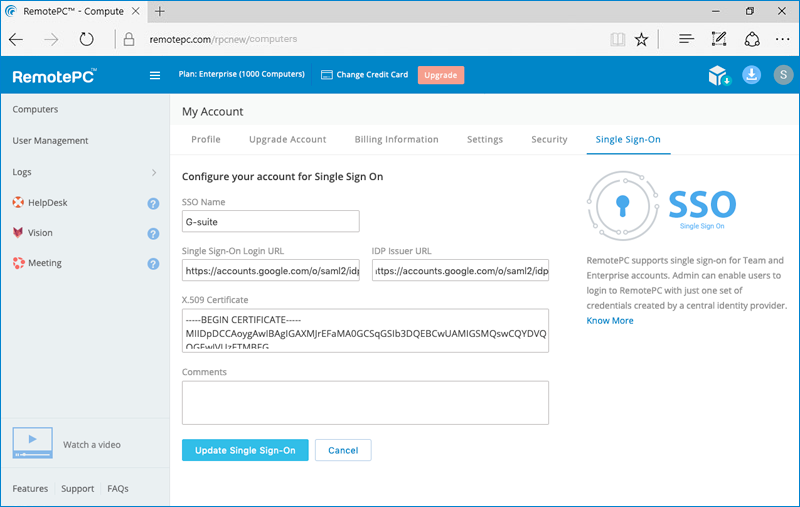
Admin needs to provide the received SAML 2.0 URLs and Certificate in the Single Sign-On application from the RemotePC web interface.
To configure SSO,
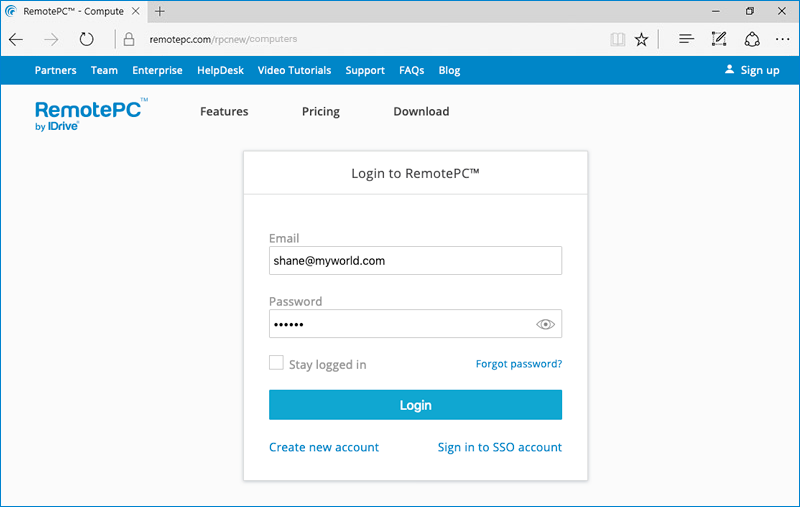
- Login to RemotePC via web browser.
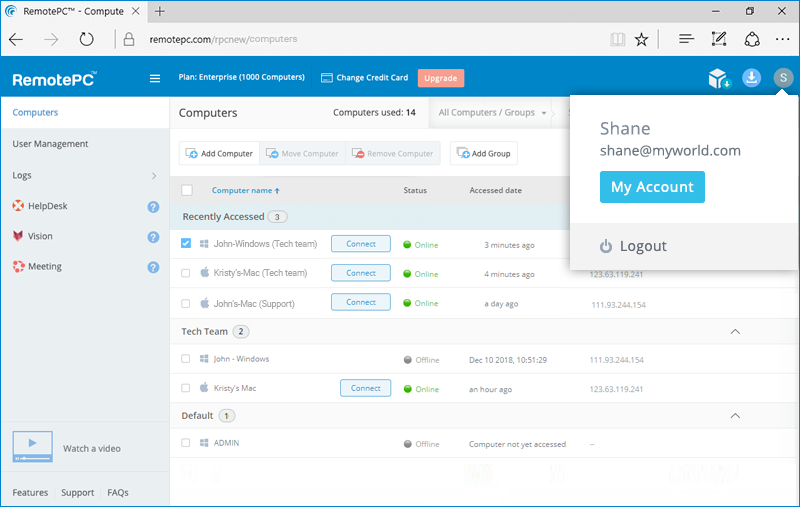
- Click the username displayed on the top-right corner and click 'My Account'.
- Click 'Single Sign-On'.
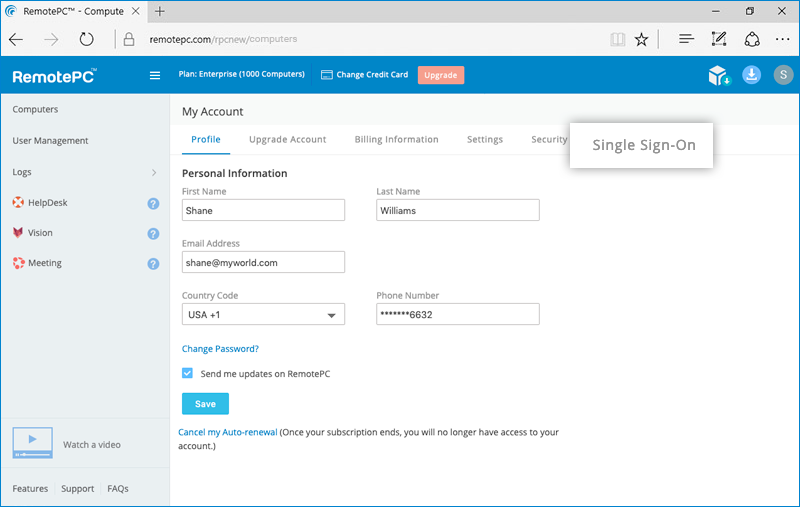
- Enter a name for your SSO profile.
- Enter the 'SAML 2.0 Single Sign-On Login URL', 'Issuer URL', and add the 'X.509 Certificate' received from your newly created app on G-Suite console.
- Click 'Update Single Sign-On'.
To allow selected users to access the app, select either 'ON for Everyone' or 'ON for Organizations' from the 'User Access' page.